Storytelling Box (and Make-Your-Own Exhibits)
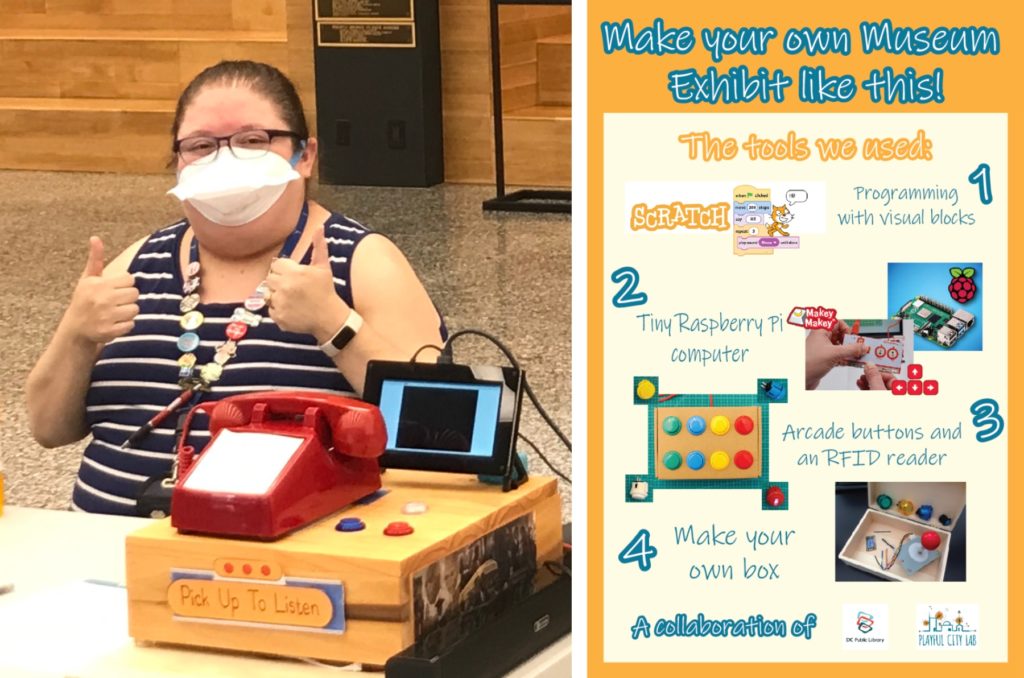
This project goes with a famous mural in the lobby of the DC Public Library’s main branch. Our wooden box features audio stories, interactivity with the colorful buttons, and more. The “do it yourself” (DIY) approach is ideal for libraries with an intermediate or more advanced technology focus — including makerspaces, STEM/STEAM programs, and coding.
Our inspiration: An amazing mural with history
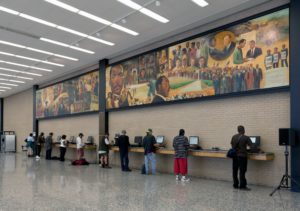
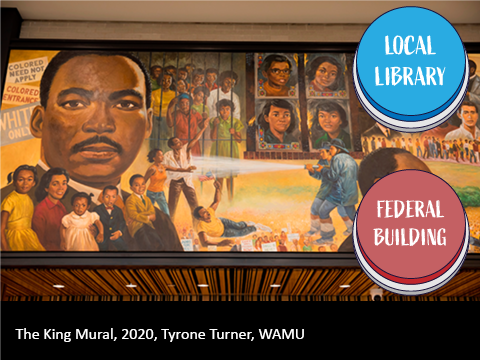
When you enter the main branch of the DC Public Library, visitors have long seen the historic MLK Mural:
If you’re curious, read more about the making of the mural.
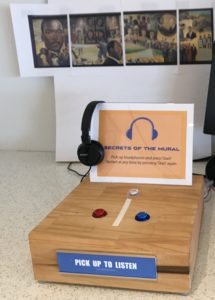
Audio Only (an early prototype)
To keep the focus on the mural, we initially tried a version with no screens — just audio
…we printed photographs of the mural when demoing at other locations.
In action: recruiting in the lobby
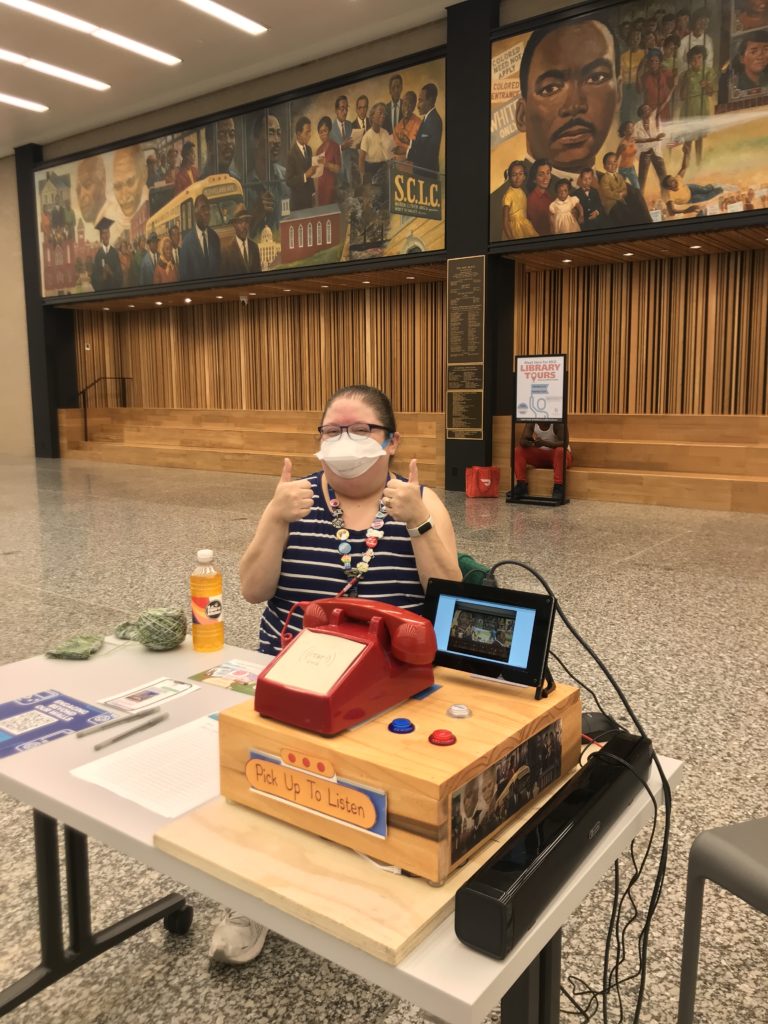
We used a second version of the storytelling box to recruit for workshops in the Labs at DC Public Library, which includes a fabrication lab, memory lab, and studio lab.
A photograph of the mural is shown on the screen while our demo asks a trivia question over the speaker.
To remind listeners what the buttons mean, our small screen mimicked the blue and red buttons:
How did we make it?
The software is running on a tiny Raspberry Pi computer (about $50-100 USD). The neat thing about the Raspberry Pi is that it is a whole computer – just plug in your monitor, keyboard and mouse. That means the code can be tested on ordinary laptop computers. For this demo, we used the popular programming language Scratch that is widely used by libraries and comes with the Raspberry Pi. For the keyboard input, we simply plugged in a Makey Makey (~ $50) to control the buttons. Total materials cost $200-300, depending on the version you want. Our phone is mostly theatrical, with the audio plugging into the headphone jack of the Raspberry Pi. Hidden feature: we put a RFID reader into the phone, so that the system can respond if you tap RFID cards or stickers, including to respond to historic photos that have been laminated.
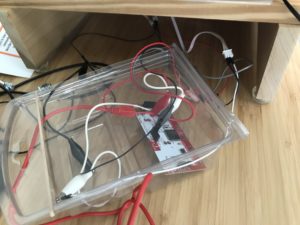
Arcade buttons wired to a Makey Makey
We connected the Makey Makey with simple alligator clips (no soldering required!). Each arcade button looks to the computer as if someone had pressed the left arrow (red) or right arrow (blue button).
See also: our earlier Duck and Fairy demo
Scratch versus Python and Hive Mechanic
Our demo version uses Scratch, not Hive Mechanic. This is easier for many makerspaces to use initially, since they already use Scratch. We have also tested a more advanced version that uses Python code to control the game, including to contact the Hive Mechanic server. Some advantages of that approach include:
- texting players or calling them
- tracking player score
- checking the weather, bus arrival times or other open APIs
- turning on lights (etc.) in the spirit of the Internet of the Things.
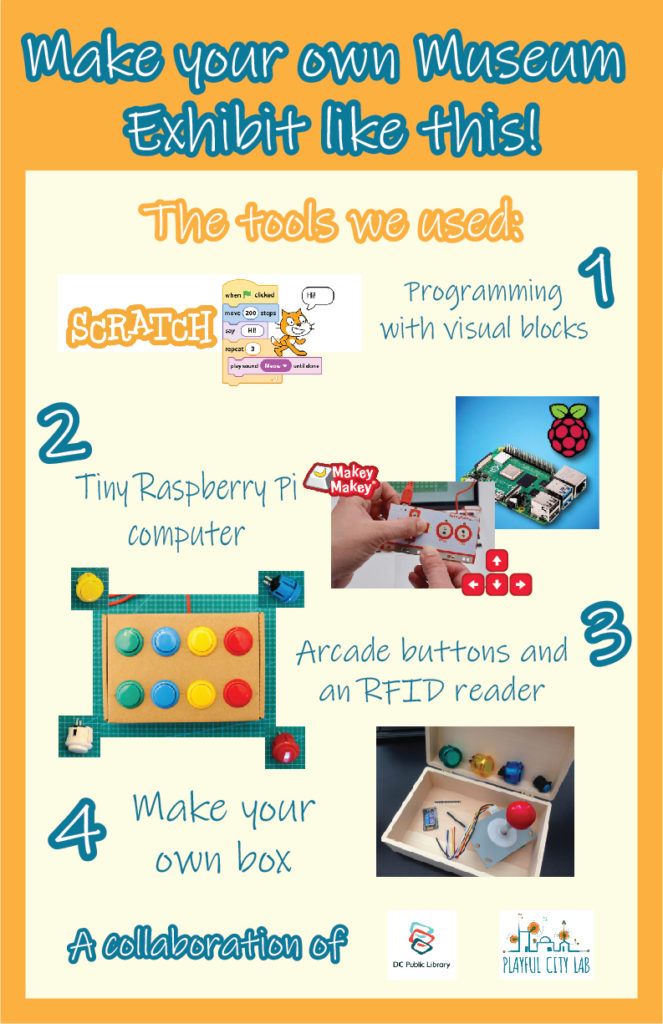
Use this Poster to Recruit for your Workshops
Print your own poster and make a project like this:
You can print our poster PDF here.
